

Quick Answer: Basement drywall installation is the final stage of finishing a basement, where drywall panels are screwed to framed stud walls, then taped and mudded smooth. Before hanging any board, you need a dry, code-compliant wall assembly: moisture control, insulation, a vapour barrier on the warm side, and inspected framing.
What is basement drywall installation?
Basement drywall installation is the process of screwing gypsum board to a framed stud wall, then taping and mudding the seams so the surface is ready for primer and paint. In DIY basement finishing, it’s the visible payoff after the hidden work: waterproofing, framing, insulation, and a sealed vapour barrier.
How do you finish basement walls from framing to drywall?
Finishing basement walls follows a fixed order: build the stud walls, insulate, seal a vapour barrier on the warm side, then hang and finish the drywall. Reversing or skipping steps is how DIY basement finishing goes wrong. Here’s the sequence most GTA builders follow, start to finish.
Gather your construction materials
Before framing, stage your construction materials in one corner: pressure-treated bottom plates, 2×4 studs, rigid foam or spray foam, 6-mil polyethylene, moisture-resistant drywall, drywall screws, tape, and joint compound.
Build the stud walls
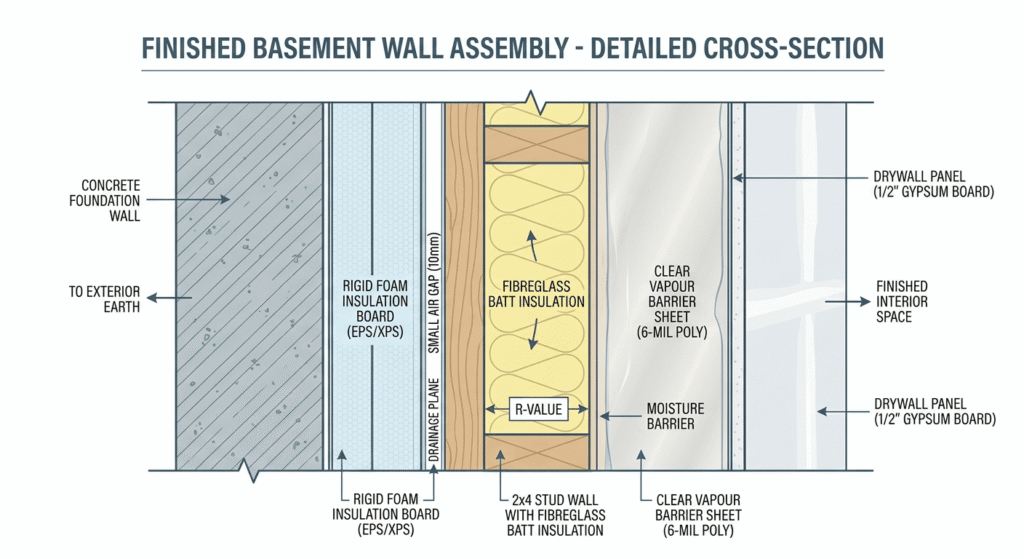
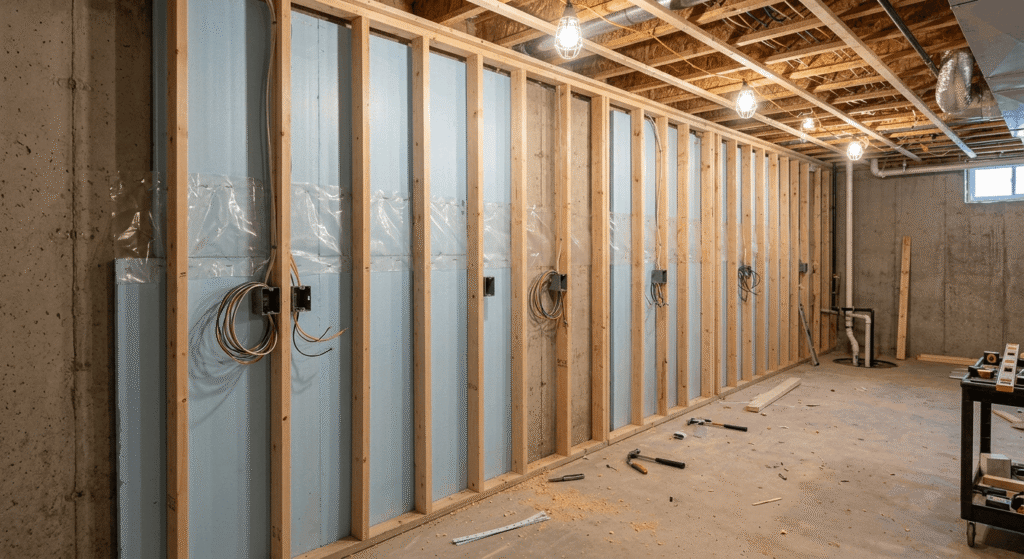
Snap a chalk line on the slab, build each wall flat on the floor, then tip it up. Use pressure-treated lumber for any plate touching concrete, and pair it with ACQ-compatible fasteners so they don’t corrode. Space studs 16 inches on centre. Leave a small gap, about half an inch, between framing and concrete so air can move and the wall can dry inward.
Insulate and add the vapour barrier
Get this step wrong and mould shows up years later. Concrete is water-permeable, so fibreglass batts and a poly sheet straight against a bare foundation trap moisture, a mistake veterans call a “diaper wall.” Control the concrete’s surface temperature with rigid foam or closed-cell spray foam, then insulate the cavity. Under the 2024 Ontario Building Code, basement walls need R-20 and the R-values recommended for Canadian homes, plus a vapour barrier on the warm side, between insulation and drywall. For older homes with chronic dampness, part of planning is honestly weighing whether to renovate or rebuild before you commit to finishes.
Which assembly you choose changes how vapour is handled:
| Insulation approach | How it handles vapour | Best for |
|---|---|---|
| Closed-cell spray foam, 2 in or more | Acts as its own vapour and air barrier, no poly needed | Damp or high-risk basements |
| Rigid foam board plus batt | Foam controls surface temperature; add poly on the warm side | Most DIY renovations |
| Fibreglass batt plus 6-mil poly | Poly is the only vapour control; higher moisture risk | Dry, low-risk basements only |
Whatever you pick, overlap poly seams 150 to 200 mm, tape them, and caulk around every electrical box and pipe.
Hang the drywall
Basement drywall installation is the fast part; the prep is what takes time. Board the ceiling first, then the walls, working from the bottom up in a horizontal brick pattern. Drive screws every 12 inches into the studs, sinking each head below the paper without tearing it. Mark outlet and switch locations, and cut those openings before fastening the sheet. Use moisture-resistant board rather than standard drywall, and hold the bottom edge slightly off the floor so a minor flood won’t wick up the panel. Home Hardware has a clear walkthrough for hanging basement drywall.
Taping and mudding the seams
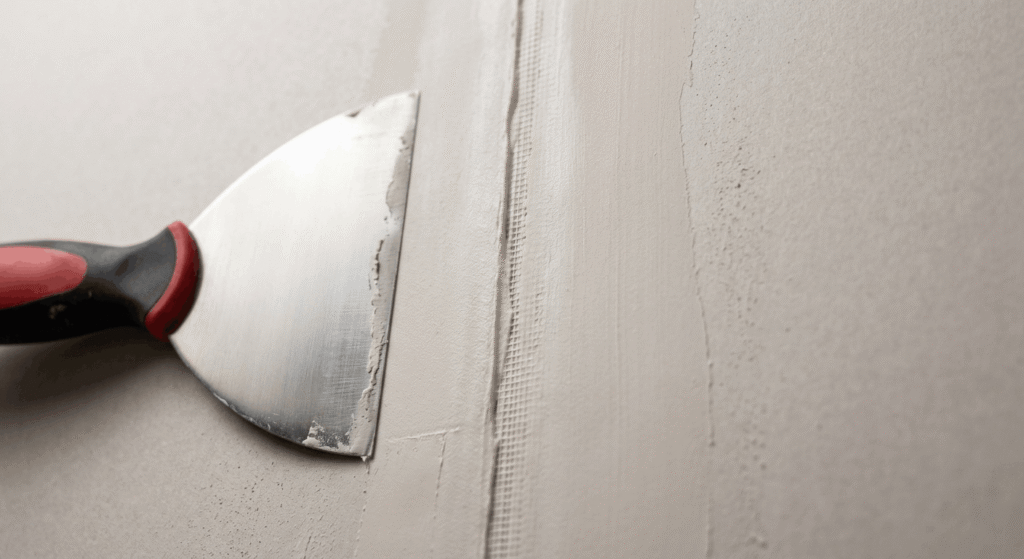
Taping and mudding is where patience pays. Most seams take three coats of joint compound, and each coat needs to dry overnight before the next, so budget at least three days for a small room. Bed paper tape into a first coat with a 6-inch knife, feather a second coat with an 8 to 10-inch knife, then skim a thin finish coat with a 10 or 12-inch knife. Sand lightly between coats with 120-grit, and hold a light at a low angle to catch ridges before you paint.
Do you need a vapour barrier and permit to finish a basement in Canada?
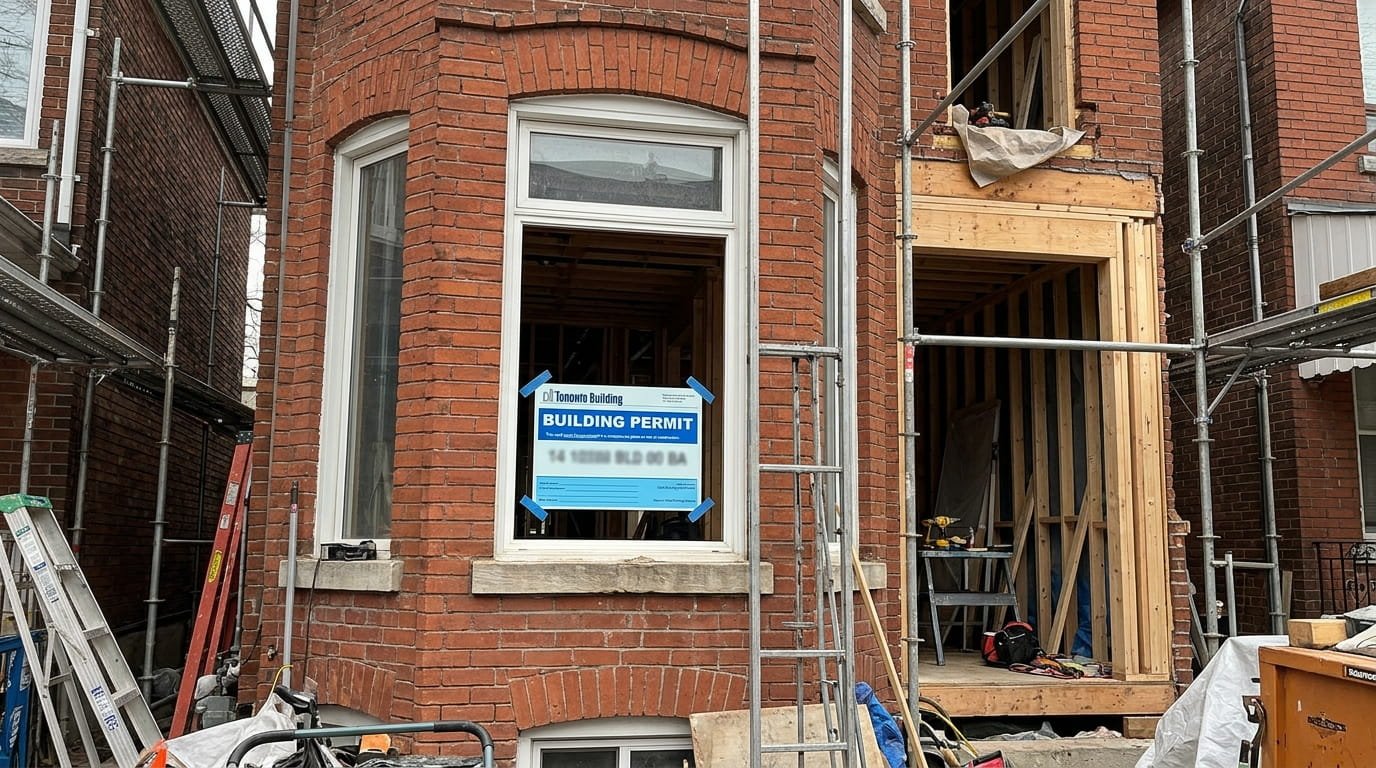
Yes. In almost every Canadian municipality, finishing a basement that adds walls, wiring, or a bedroom requires a building permit, and the Ontario Building Code requires both an air barrier and a vapour barrier on basement walls. Water and radon come first, though.
Start with moisture control and basement waterproofing
Water problems must be solved before you frame. Run a simple test first: tape a square of plastic or foil to the concrete, seal the edges, and check after a few days. Moisture on the room side means condensation; moisture behind it means the slab is wet. For active leaks, interior basement waterproofing (crack sealing, an interior drain, or a sump pump) typically runs $3,000 to $10,000, while exterior excavation can reach $35,000, which is why early planning and budgeting matters before you start.
Test for radon before you build
Here’s the step almost no basement guide mentions.
Radon is a colourless, odourless gas that seeps up from soil and collects in basements, and it accounts for roughly 16% of lung cancer deaths in Canada. Health Canada’s radon guideline is 200 Bq/m³, and if you measure above it, corrective action is recommended within a year. Test with a long-term kit for at least three months, ideally before you frame, while pipes and a sump can still be rerouted for a sub-slab system.
Confirm ceiling height and egress
Two code rules can quietly kill a basement bedroom. Ontario requires a finished ceiling height of about 1.95 m (6 ft 5 in), measured after finishes go in, and each bedroom needs an egress window with a clear opening of at least 0.35 square metres. Measure and deduct your finishes first, because underpinning to gain height can add $40,000 or more.
Before you close in the walls, confirm you have:
- A dry slab and walls, with leaks fixed and waterproofing done
- A long-term radon test underway or mitigation roughed in
- R-20 insulation with a sealed vapour barrier on the warm side
- Framing, wiring, and plumbing inspected before insulation hides them
Rules vary by province. These R-20 and permit specifics reflect Ontario; Saskatchewan and others follow the National Building Code directly, so confirm local requirements first.
Frequently Asked Questions
1. Can you install drywall directly onto concrete basement walls?
No. Fastening drywall straight to concrete traps moisture and invites mould, with nothing solid to screw into. Build stud walls a small gap off the foundation instead, add rigid foam or spray foam for moisture control, seal a vapour barrier, then hang the board.
2. How long does taping and mudding drywall take?
Plan on at least three days per room. Finishing almost always needs three coats of joint compound, and each coat has to dry before the next. A typical schedule looks like:
- Day 1: bed the tape in a first coat
- Day 2: feather a wider second coat
- Day 3: apply and sand a thin finish coat
3. Should you use moisture-resistant drywall in a basement?
Yes. Basements hold more humidity than upper floors, so moisture- and mildew-resistant drywall is the safer choice for below-grade walls. Pair it with a pressure-treated bottom plate, and hold the panel slightly off the slab. In damp spots, cement board suits the lowest sections.
4. Do you need a permit to finish a basement in Canada?
Yes, in most Canadian municipalities. A building permit is required once a basement project adds framed walls, electrical, plumbing, or a new bedroom. Permit fees often run a few hundred dollars, and inspections must sign off on framing and wiring before insulation and drywall cover them.
5. How much does it cost to finish a basement in Canada?
Finishing a basement in Canada runs about $35 to $75 per square foot with a contractor in 2026, or roughly $20,000 to $75,000 depending on size. Doing the work yourself can cut that by 40 to 60%, though permits, insulation, and waterproofing cost the same either way.
Conclusion
Done in the right order, basement drywall installation turns raw concrete into finished, livable space without the price of an addition. Get the hidden layers right first: fix moisture, test for radon, insulate to R-20, and seal the vapour barrier. After that, framing and a patient three-coat finish are well within reach. If your basement has standing water, a low ceiling, or a planned bedroom, that’s the point to bring in a professional renovation team before you build.