

Quick Answer: Basement drywall installation is the last stage of finishing a basement, after moisture control, framing, and insulation are handled. In Canada, the job succeeds or fails on how dry you keep the space. Fix any water problems first, build insulated stud walls with the right vapour barrier, then hang the sheets and finish them with tape and mud.
What Is Basement Drywall Installation?
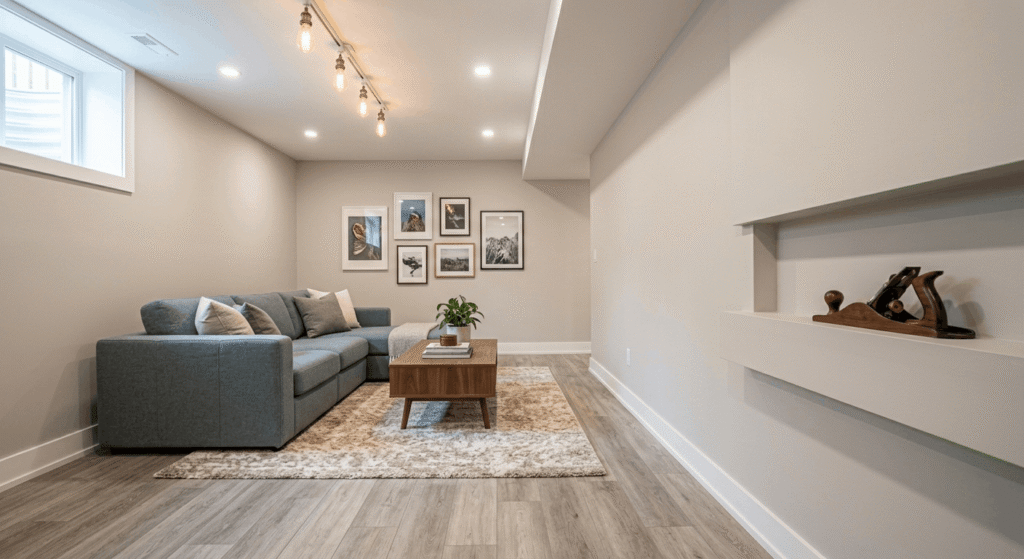
Basement drywall installation is the process of hanging and finishing gypsum board over framed, insulated basement walls to create a finished room. It is the visible payoff of a larger DIY basement finishing project, and in Canadian homes it only works when the moisture, framing, and insulation underneath are done correctly first.
How Do You Handle Moisture Control and Basement Waterproofing First?
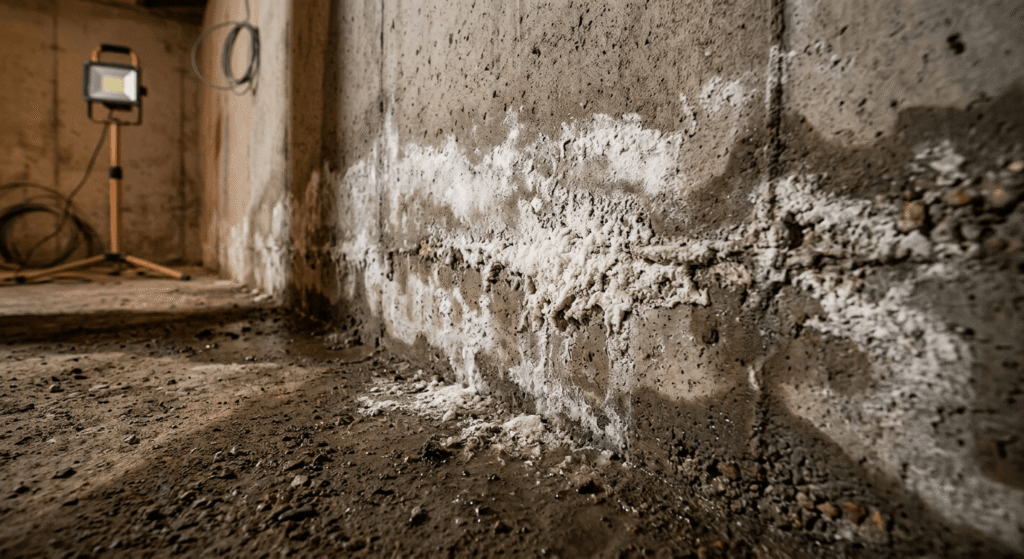
Moisture control comes before a single sheet of drywall. In Canada, spring snowmelt and humid summers push water and vapour toward cool foundation walls, so any leaks, cracks, or efflorescence must be fixed first. Deal with basement waterproofing, drainage, and humidity now, because finishes hide moisture problems until mould has already taken hold.
Natural Resources Canada notes that basements account for about 25 percent of a home’s total heat loss, and cold concrete is a magnet for condensation. When humid indoor air meets an uninsulated wall, it condenses, and that damp surface feeds mould. Keep water out, then keep the space dry. That order never changes.
Look for staining, blistering paint, a whitish mineral crust called efflorescence, or a musty smell. Efflorescence signals water wicking through the foundation, and it will not stop on its own. Minor dampness can often be corrected from inside. Persistent leaks usually need exterior repairs, better grading, or a drainage system before you finish anything.
Humidity matters too. Health Canada recommends keeping indoor relative humidity between 30 and 50 percent, and running a dehumidifier through the warmer months if your basement runs damp. Mould grows readily on porous construction materials like drywall, paper, and untreated wood, so a dry starting point protects everything you are about to install. The same gaps that admit moisture can also admit radon, so sealing wall and floor penetrations does double duty.
One detail many guides skip: brand-new concrete is full of water. If the foundation was recently poured, allow roughly a year of drying time before you seal it behind insulation and board, unless your wall assembly is designed to let that moisture escape.
How Do You Frame Stud Walls and Install a Vapour Barrier?
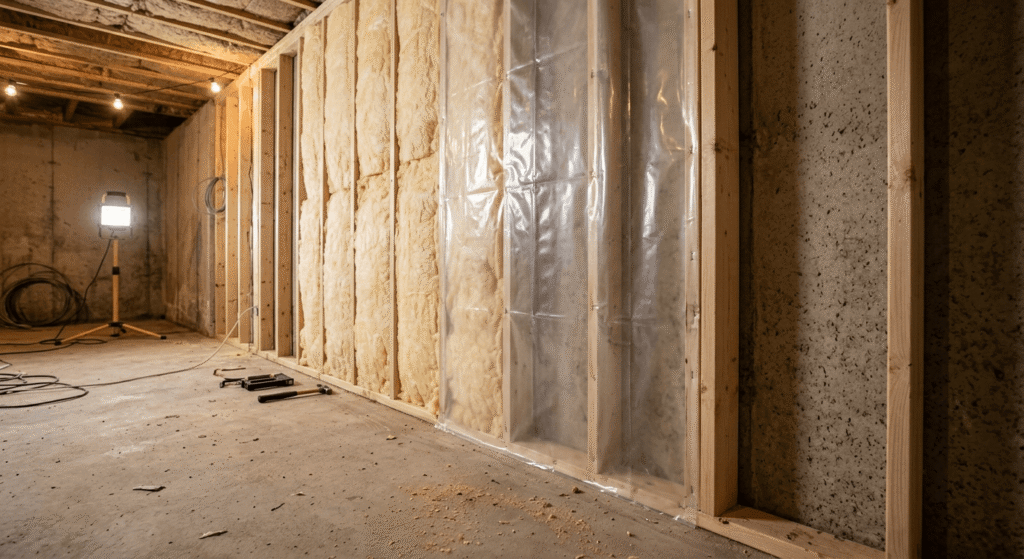
Interior stud walls create space for insulation, wiring, and the drywall surface. Natural Resources Canada recommends framing with dry 2×4 or 2×6 lumber set 600 mm (24 in.) on centre, with the bottom plate resting on a sill gasket so wood never touches damp concrete. The vapour barrier then goes on the warm, interior side.
Build the frame slightly off the foundation so batt insulation can sit behind and between the studs without compression. Use dry lumber. NRCan’s basement insulation guidance warns that damp framing twists as it dries and traps moisture, so if the wood is not dry, let it sit two weeks before you insulate. Aim for at least RSI 2.1 (R-12) unless your local code requires more, and read up on matching insulation R-value to your climate zone before you buy. Seal the rim joist area up top, since that gap leaks more air than any other part of the wall.
The vapour barrier, or vapor barrier, is where Canadian basements get tricky. Its job is to stop warm, moist indoor air from reaching the cold wall and condensing there. In a basement proven to be dry, a 6-mil polyethylene sheet on the warm side works. If there is any risk of dampness, a smart vapour retarder that changes permeance with humidity, or the airtight drywall approach, handles seasonal swings better.
Here is how the three accepted finishing methods compare:
| Method | Best for | Key caution |
|---|---|---|
| Polyethylene sheet (6-mil) | Basements confirmed dry year-round | Can trap moisture if the wall ever gets damp |
| Smart vapour retarder | Damp-prone or uncertain basements | Follow the maker’s install steps exactly |
| Airtight drywall approach | Foam-backed or hybrid walls | Every seam and box must be sealed airtight |
Avoid one common mistake. Never pair a polyethylene sheet with rigid foam board on the wall, because two vapour barriers can trap moisture between them with nowhere to dry. Never use asphalt building paper indoors either, since it can release harmful vapours. Leave enough barrier at the top to tie into the air seal at the joist header.
What Are the Steps for Hanging Drywall, Taping and Mudding?
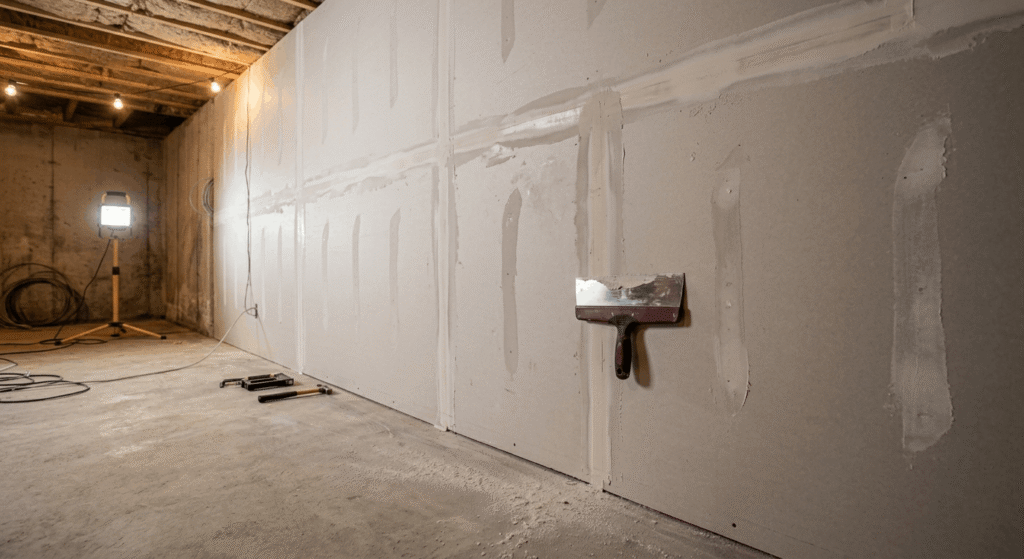
With walls framed, insulated, and sealed, basement drywall installation moves fast. You hang the sheets, fasten them to the studs, then finish the joints with tape and joint compound. In basements, moisture-resistant drywall on the lower walls adds a margin of safety. The taping and mudding stage is what makes the surface look built-in rather than patched.
Here is the basic sequence once your walls are ready:
- Hang the ceiling first, then the walls. Screw 12.7 mm (½ in.) gypsum board to the framing and stagger the joints. Standard board suits most of the room. Use moisture-resistant board near the floor and anywhere prone to dampness.
- Fasten properly. Drive drywall screws so the head dimples the paper without tearing it. Loose or overdriven screws cause pops and cracks down the road.
- Add corner bead. Metal or paper-faced corner bead protects outside corners and gives them a crisp, straight edge.
- Tape the seams. Press paper or mesh tape into a thin first layer of joint compound over every seam and inside corner. This coat locks the tape in place.
- Apply three coats of mud, then sand. Build up joint compound in progressively wider, thinner passes, letting each coat dry fully before the next. Once the final coat cures, sand the joints flat and prime before paint. Taping and mudding is patience work, and rushing shows.
Keep the room ventilated while the compound cures, and follow Health Canada’s guidance on preventing indoor moisture and mould so nothing grows behind your fresh walls. Once painted, the surface is ready for trim and basement flooring that handles humidity.
Frequently Asked Questions
1. What should you check before installing basement drywall?
Confirm the space is genuinely dry before you close up the walls. Check for:
- Active leaks or spring water infiltration
- Efflorescence or a musty, damp smell
- Indoor humidity held between 30 and 50 percent
- Fully cured concrete, especially in new builds
Fix any of these first, because drywall hides moisture until mould appears.
2. Do you need a vapour barrier behind basement drywall in Canada?
Usually yes. Natural Resources Canada advises a vapour barrier on the warm interior side of insulated basement walls to stop condensation. A 6-mil polyethylene sheet suits dry basements, while a smart vapour retarder or the airtight drywall approach performs better where dampness is possible. Never install two vapour barriers in one wall.
3. Is moisture-resistant drywall worth it in a basement?
For below-grade rooms, yes. Moisture-resistant board, often called green board, and mould-resistant panels resist damage better than standard drywall if humidity spikes. They are not waterproof and will not fix a leak. On lower walls, though, they add a sensible safety margin in a space that naturally runs damp.
4. How long should new concrete dry before you finish the basement?
Give freshly poured concrete about a year to release its built-in moisture before you seal it behind insulation and drywall. Concrete is made with hundreds of litres of water, and finishing too soon traps that moisture inside the wall, where it can feed mould and rot the framing.
5. How many coats of joint compound does taping and mudding require?
Plan on three coats. The first embeds the tape, and the next two build a smooth, feathered transition across each seam. Let every coat of joint compound dry fully, then sand before priming. Rushing between coats is the most common reason basement walls end up looking patchy.
Conclusion
Done in the right order, basement drywall installation turns a cold concrete shell into finished living space that lasts. In Canada’s freeze-thaw climate, the sequence matters more than speed: control moisture, waterproof and dry the space, frame insulated stud walls, set the correct vapour barrier, then hang the board and finish the seams. Get the layers beneath the surface right, and the drywall stays crack-free and mould-free for decades. For a full walkthrough of the earlier stages, see our complete basement finishing checklist.